How to export the database in XAMPP
To export a database in XAMPP, you can follow these steps:
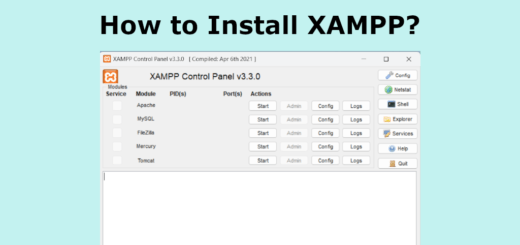
1. Start the XAMPP control panel and ensure that the Apache and MySQL services are running.
2. Open your web browser and navigate to http://localhost/phpmyadmin. This will open the phpMyAdmin interface.
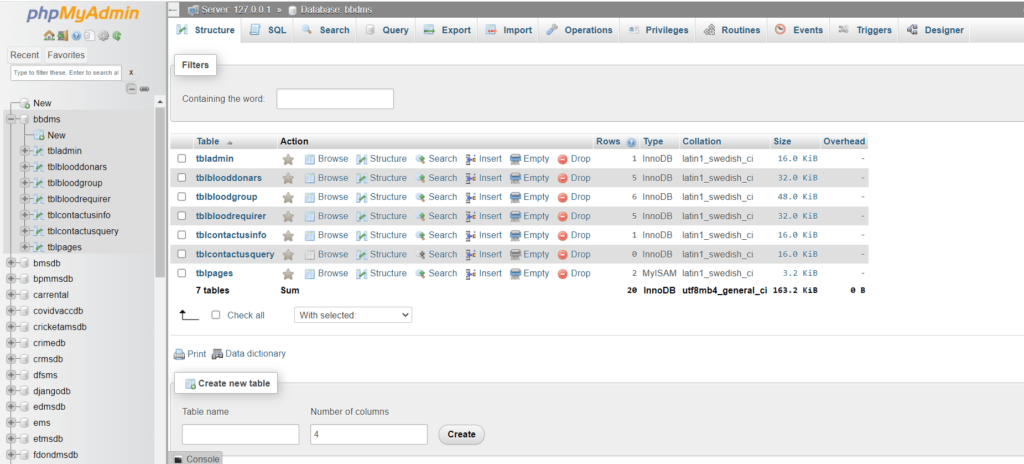
3. In phpMyAdmin, select the database you want to export from the left-hand sidebar. This will display the database’s tables.

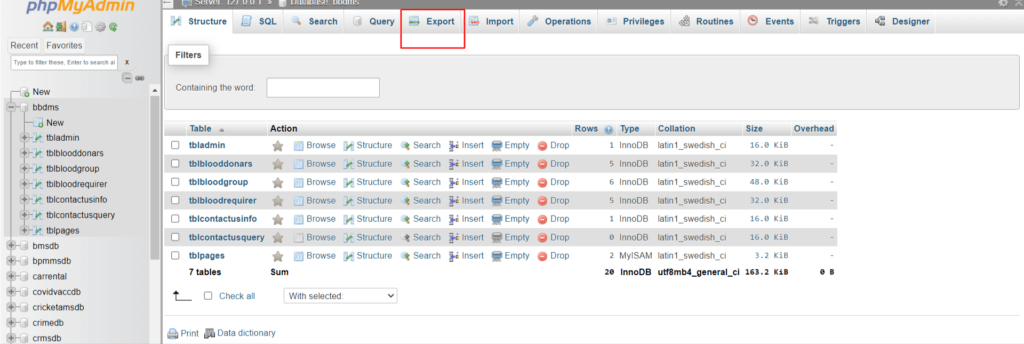
4. Click on the “Export” tab in the top navigation menu.

5. By default, the “Quick” export method is selected, which is usually sufficient for most cases. However, you can choose the “Custom” method if you need more advanced options.

6. Under the “Export Method” section, ensure that all the tables you want to export are selected. You can select all tables by checking the box next to the database name.
7. Choose the export format. The default format is usually SQL, which is compatible with most database systems.
8. Click the “Go” button to start the export process. You will be prompted to save the exported file.
9. Choose a location on your computer to save the exported file and provide a name for it.
10. Click the “Save” button to download the exported database file (.sql) to your computer.
That’s it! You have successfully exported your database from XAMPP using phpMyAdmin.


