How to Create a New Post
To create a new post in WordPress, follow these steps:
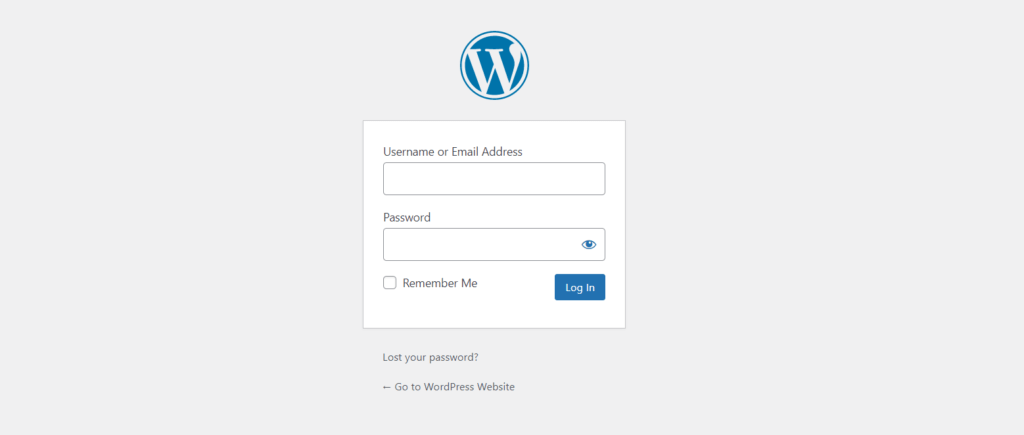
Step 1: Log in to your WordPress dashboard
Log in to your WordPress dashboard by entering your website URL followed by “/wp-admin” (e.g., www.example.com/wp-admin) in your web browser. Enter your username and password to access the dashboard.
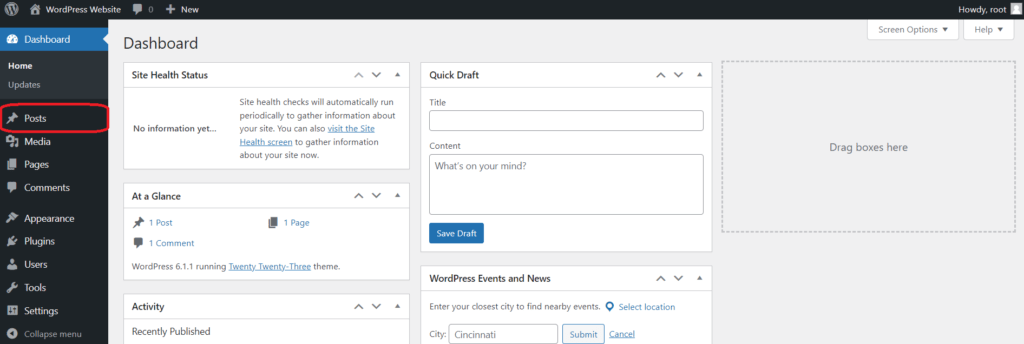
Step 2: Click on the “Posts” menu
In the WordPress dashboard, click on the “Posts” menu on the left-hand side of the screen.
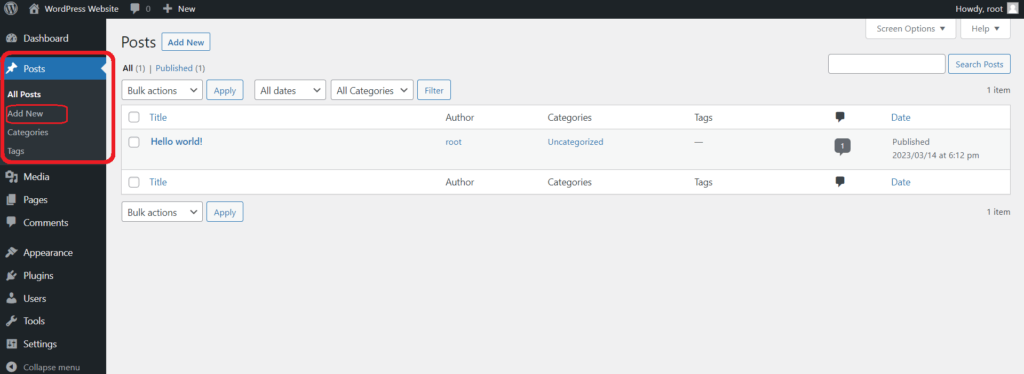
Step 3: Click on the “Add New” button
Click on the “Add New” button at the top of the screen to create a new post.
Step 4: Add a title and content to your post
Add a title for your post in the title field, and then type or paste your content into the main editing area.

Step 5: Add content to your post by typing it directly into the main editing area. You can also add media, such as images or videos, by clicking on the “Add Media” button.
Step 6: Format your content using the block editor. This involves creating separate blocks for each element of your content, such as headings, paragraphs, images, and so on. You can add new blocks by clicking on the “+” button in the top-left corner of the screen.
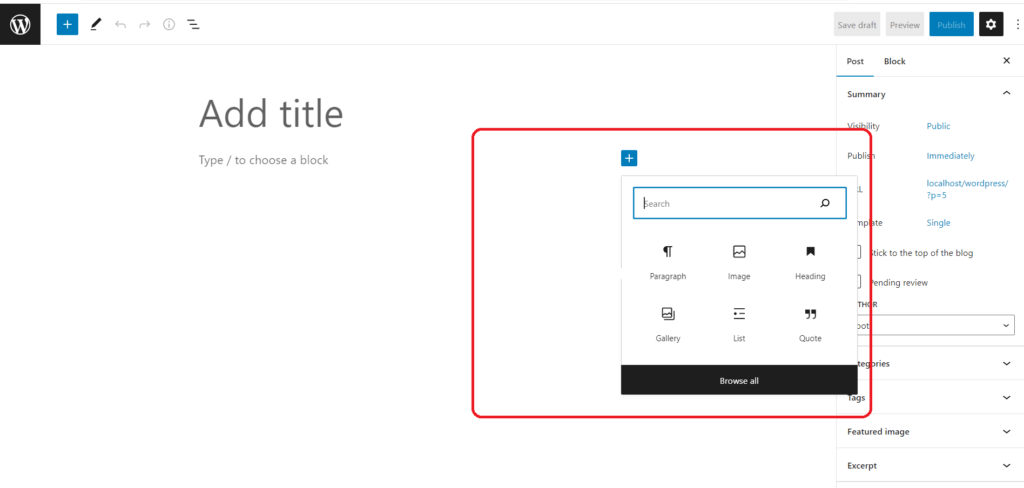
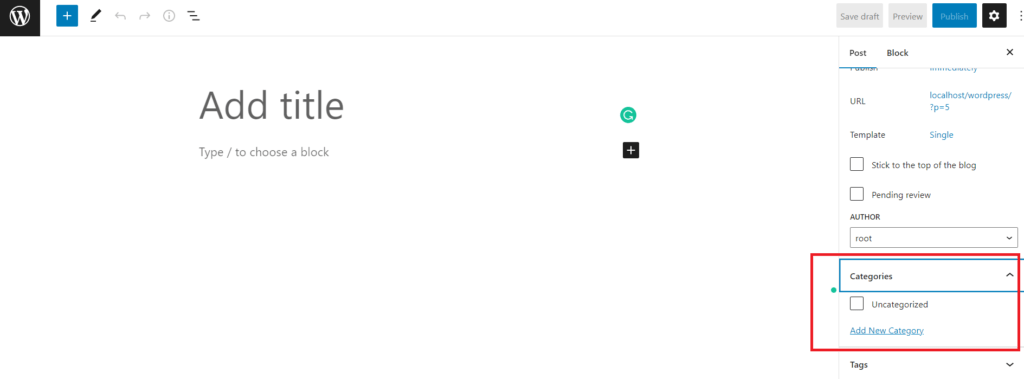
Step 7: Add any categories or tags to your post to help organize it and make it easier for users to find.
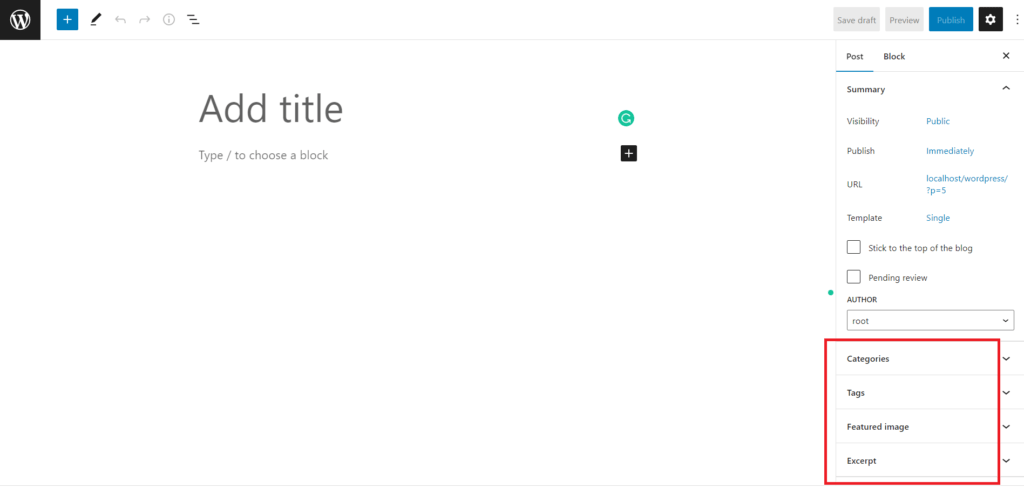
Step 8: Set any additional options, such as the featured image or post format, as desired.
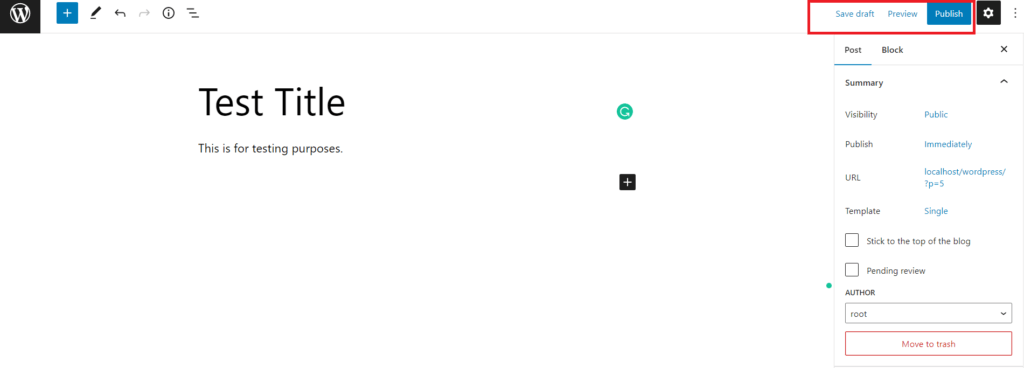
Step 9: When you’re ready to publish your post, click on the “Publish” button in the top-right corner of the screen. If you’re not ready to publish yet, you can save your post as a draft or schedule it for publication at a later time.
hat’s it! Your new post will now be live on your website for all to see.

