How to Add A Featured Image
Adding a featured image in WordPress is a simple process. Here’s how:
- Edit the post or page where you want to add a featured image.
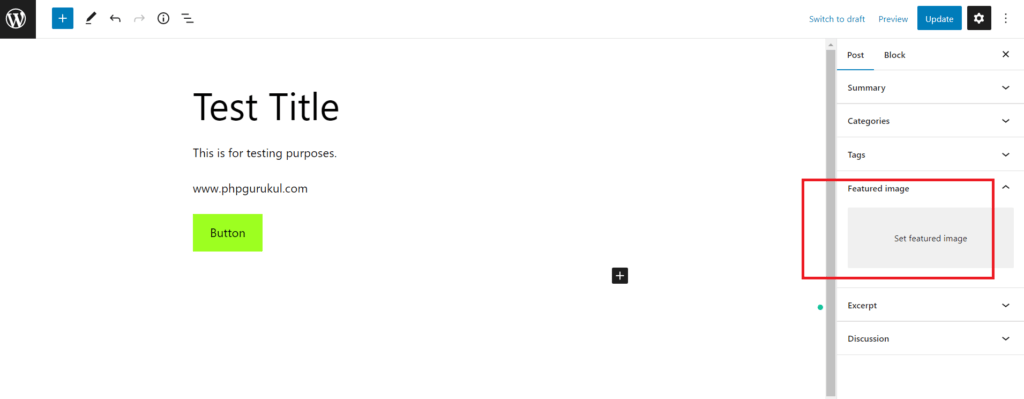
- Look for the Featured Image panel on the right-hand side of the screen.
- Click on the Set featured image link.
- This will open the WordPress media library. You can either upload a new image or choose an existing one.
- Once you’ve selected an image, click on the Set featured image button.
- The selected image will be set as the featured image for your post or page.
- You can preview how the featured image will look by clicking on the Preview button.
- Once you’re satisfied with the featured image, click on the Publish or Update button to save your changes.
Note: The location of the Featured Image panel may differ based on the WordPress theme you’re using. If you can’t find the panel, check the theme documentation or contact the theme developer for assistance.

Tags
In WordPress, tags are another way to categorize and organize content on a website. Unlike categories, which are hierarchical, tags are non-hierarchical and are used to describe specific details or topics related to a post.
When creating a tag, you can add a word or phrase that describes a specific aspect of the post, such as a keyword, a location, or a product name. Tags are typically used to provide more specific details about the content of a post, beyond what is provided by the post’s category.
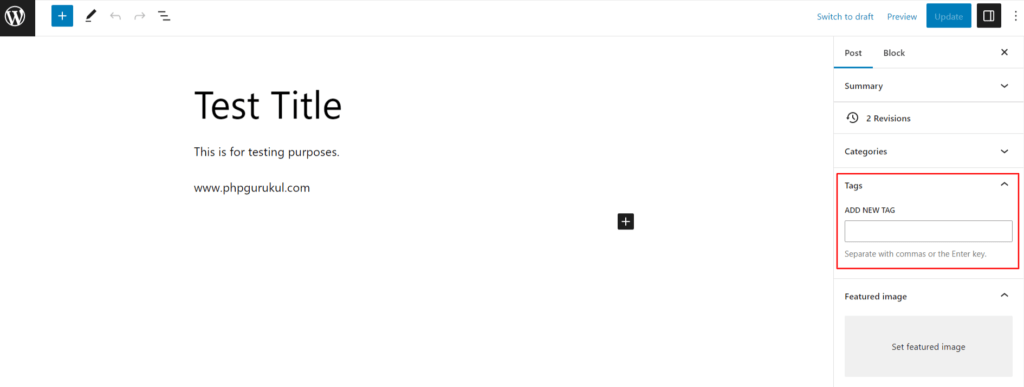
Tags are optional in WordPress, and you can add as many or as few tags as you like to a post. They can be added in the post editor screen, either by typing them directly into the “Tags” field, or by selecting existing tags from a list.
Using tags in WordPress can help to make it easier for visitors to find specific content on a website. You can use tags to create links to related posts, or to provide additional information about the content of a post. Additionally, tags can be used to create tag clouds, which display a list of the most commonly used tags on a website.


