Student Record System Using Python Django and MySQL
“Student Record System Project in Django ” is a web based technology which allow the administrator of any organization to edit and find out the personal details of a student. In this web application Student must be registered by admin. Students Record System Project in Python Django web application provides a way to effectively control record & track the student details.
Project Requirements
| Project Name | Students Record System Project in Python Django |
|---|---|
| Language Used | Python |
| Framework Used | Django |
| Database | MySQL |
| User Interface Design | HTML, AJAX,JQUERY,JAVASCRIPT |
| Web Browser | Mozilla, Google Chrome, IE8, OPERA |
| IDE | PyCharm |
Project Modules
In “Student Record System” project we use Python language with Django framework and MySQL database and it has one module i.e. Admin.
Admin Module:
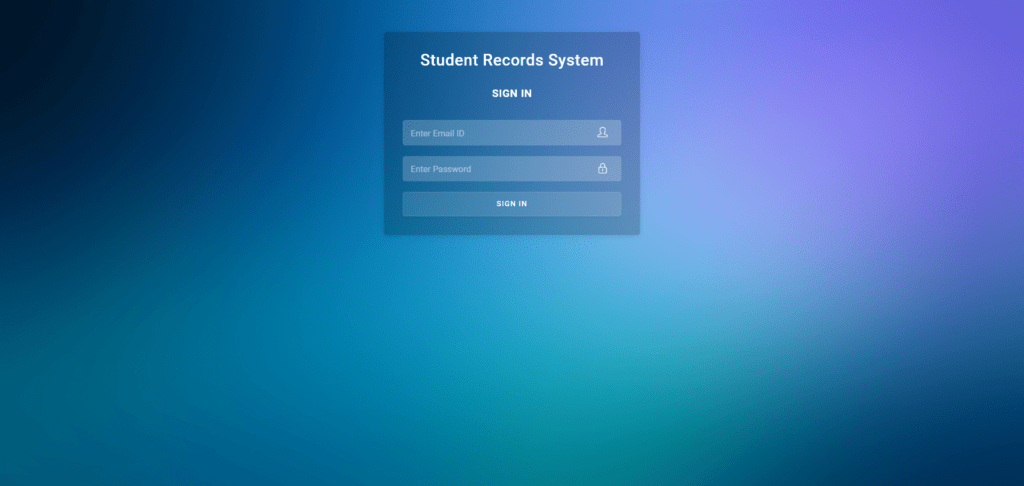
- Admin Secure login.
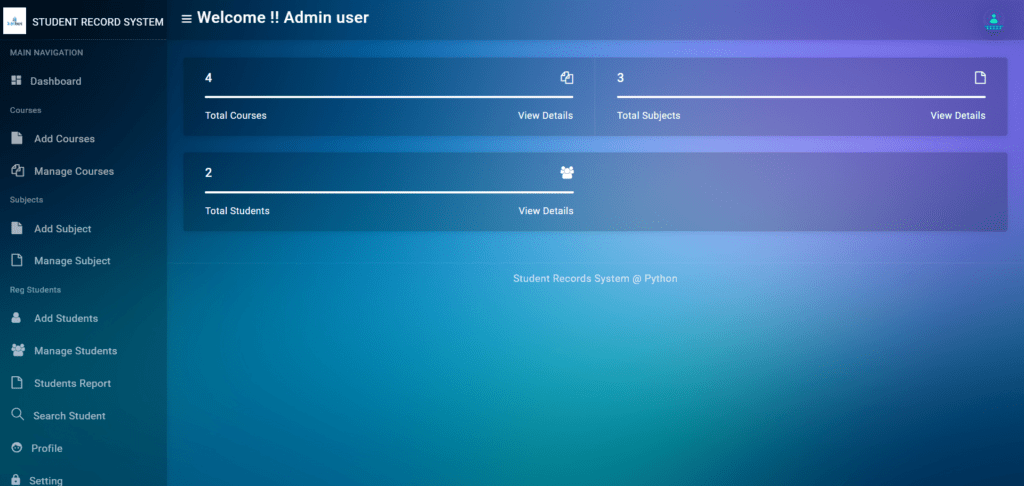
- Dashboard: In this section, admin can view the total no Courses, Subjects and Students.
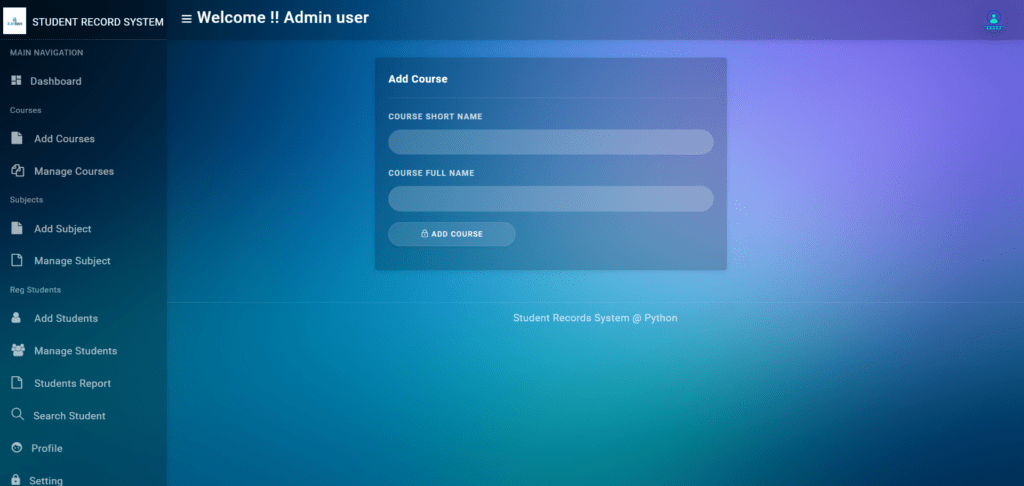
- Course: In this section admin can manage the courses (Add, edit, delete).
- Subject: In this section, admin can manage the subjects course-wise (Add, edit, delete).
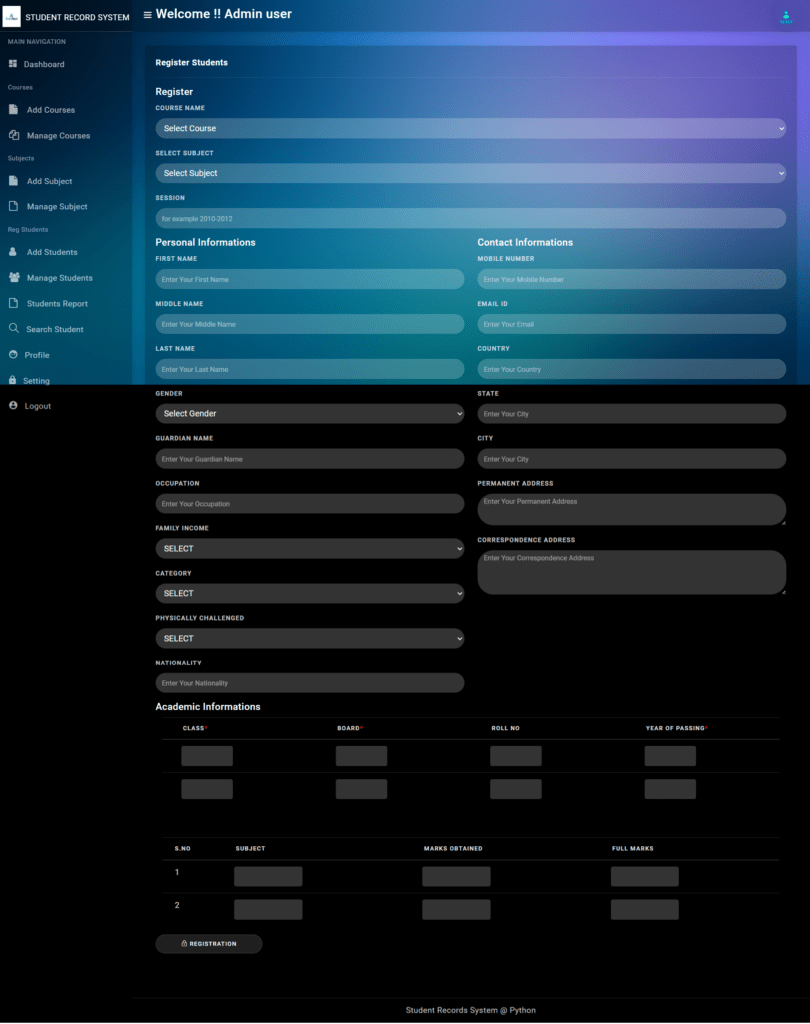
- Register: In this section, admin can add student’s details.
- View Students: In this section, admin can view, edit and delete student details.
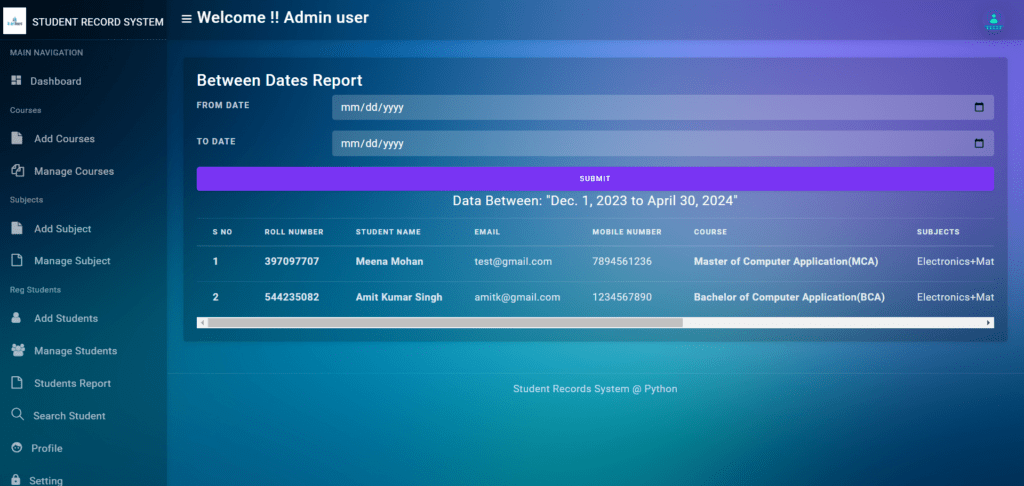
- Student Report: In this section, admin can generate how many student registration has been done between two dates.
- Search Student: In this section, admin can search a particular student by their roll number and phone number.
- Change password: in this section, admin can change their password.
- Admin Profile: In this section, admin can update the profile details.
- Logout
Some of the Project Screens
Admin Login
Admin Dashboard
Add Course
Add Student
B/w Dates Report
How to run the Students Record System Django Python
1. Download the zip file
2. Extract the file, copy studentrs folder, and paste it on the desktop
3. Open MySQL Create a database srspythondb then import the SQL File available in the SQL File Folder (For MySQL we used XAMPP server)
4. Open PyCharm and click on the terminal
5. Navigate the project folder using the cd command
cd project_path
For ex: cd C:\Users\ANUJ\OneDrive\Desktop\studentrs
6. Now Navigate to the Apartment Visitor System folder
cd studentrecordsys
7. Run the Project using the following command
python manage.py runserver
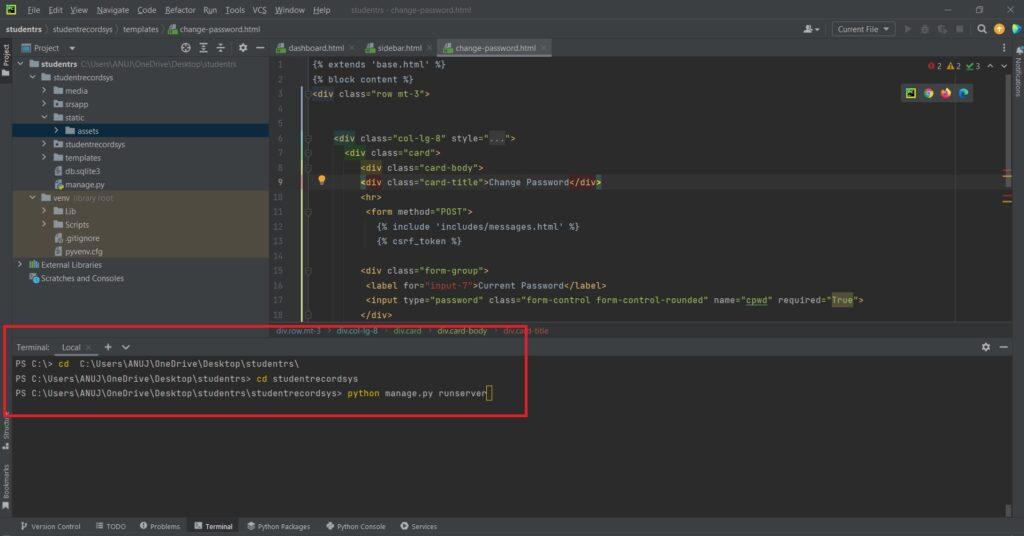
Now click the URL http://127.0.0.1:8000 and the Project will Run


