Staff Leave Management System Using Django Python SQLite
The Staff Leave Management System (SLMS) is a web-based application that can be accessed throughout the organization or a specified group/Dept. Staff Leave Management System Project can be used to automate the workflow of leave applications and their approvals.
Project Requirements
| Project Name | Staff Leave Management System Project in Python Django |
|---|---|
| Language Used | Python |
| Framework Used | Django |
| Database | SQLite |
| User Interface Design | HTML, AJAX,JQUERY,JAVASCRIPT |
| Web Browser | Mozilla, Google Chrome, IE8, OPERA |
| IDE | PyCharm |
Project Modules
The modules involved are:
- Administration
- Staff
Admin Module details
- Admin can add a Staff and also update the Staff info.
- Admin can also manage the leave application (approve and not approve).
- Whenever a Staff applies for leave admin will get a notification.
- Admin can change own password after login.
- Admin can also view admin dashboard.
Staff Module
- The Staff can log in with a valid email and password.
- Update his/her profile
- Applied for leave
- View the leave history
- Change his/ her password
Staff Leave Management System Project Screen Shots
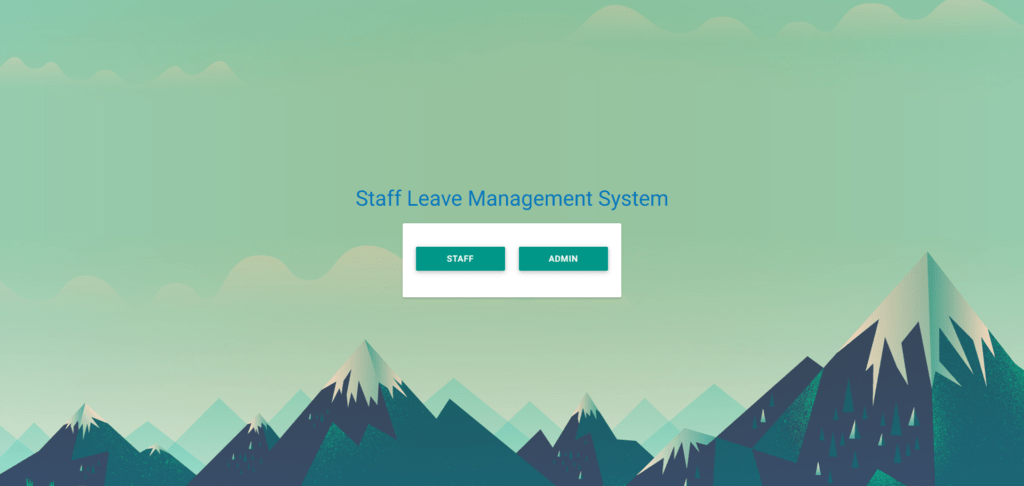
Home Page
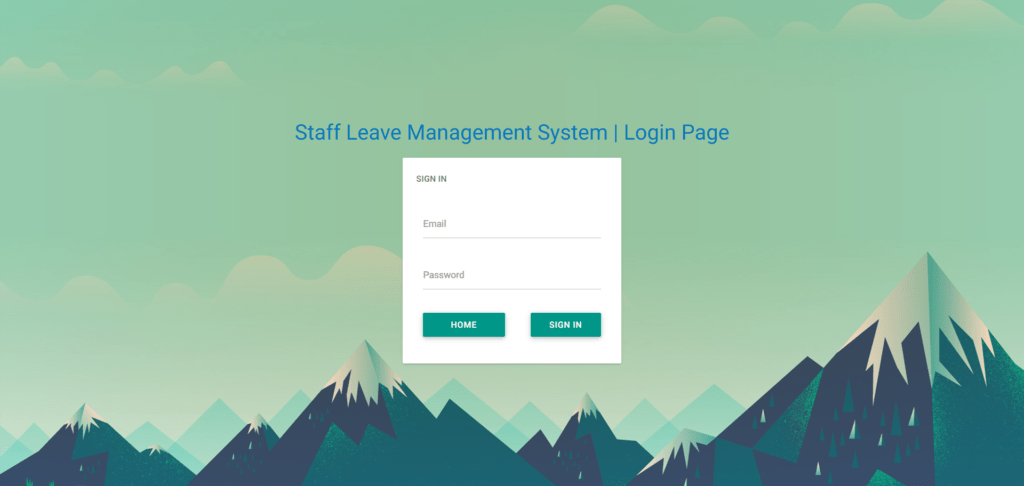
Login Page
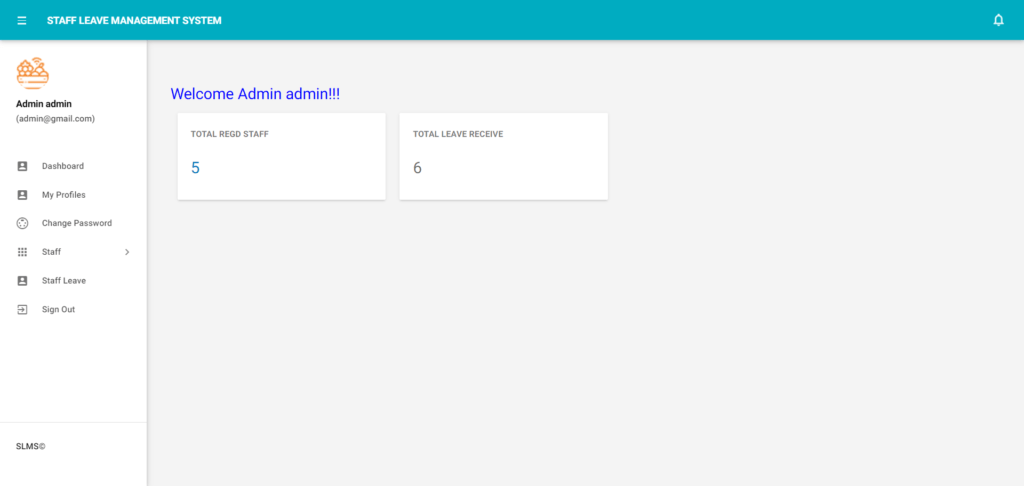
Admin Dashboard
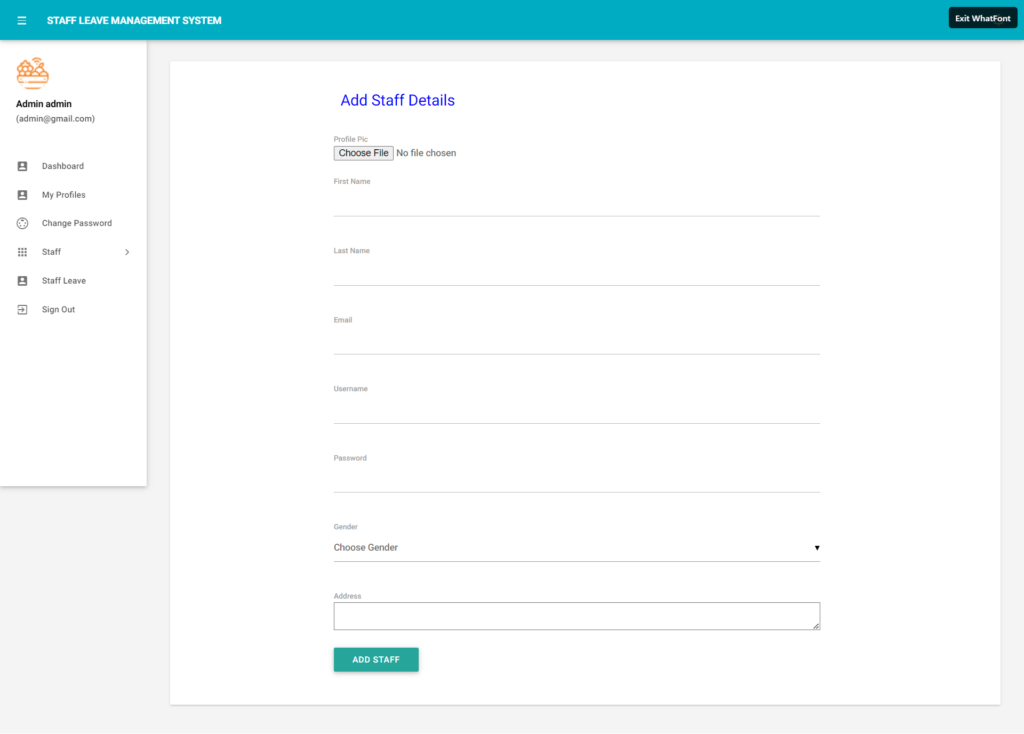
Add Employee
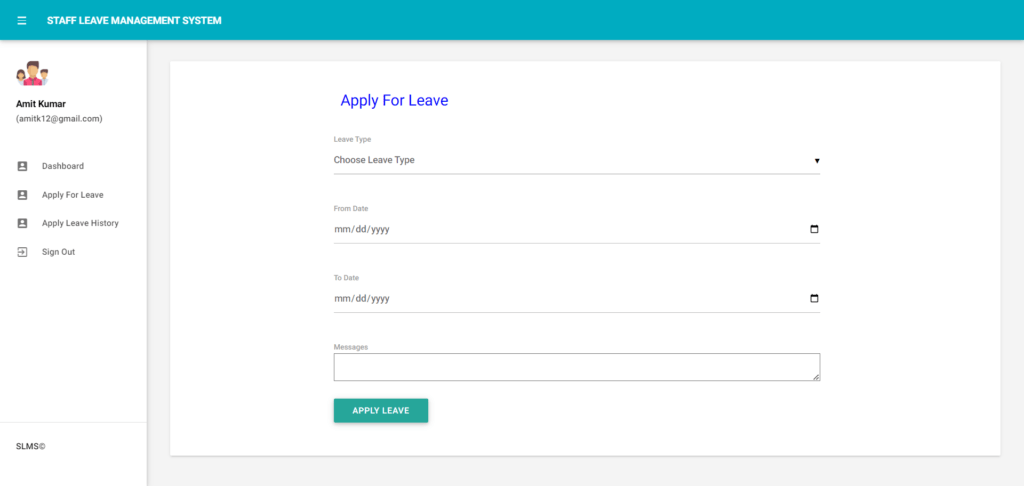
Staff Leave Apply
How to run the Staff Leave Management System Django Python
1. Download the zip file
2. Extract the file , copy staffleave folder and paste on the desktop
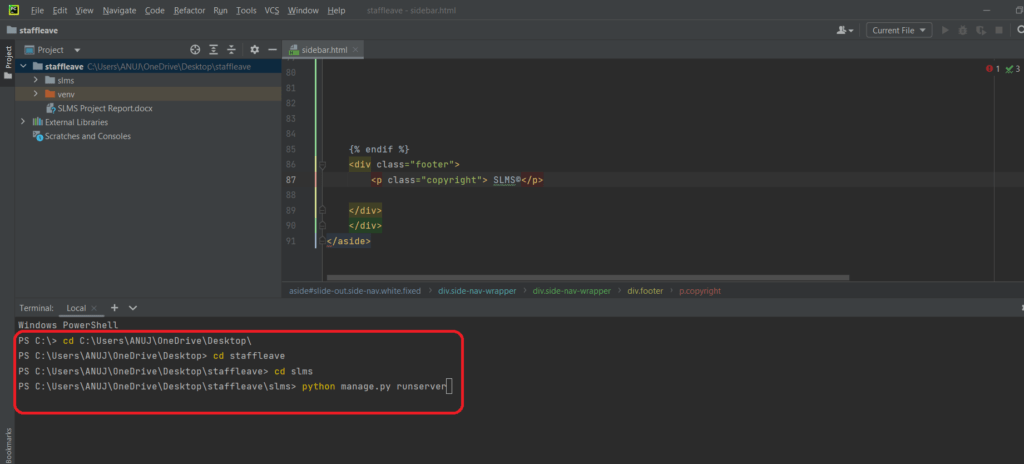
3. Open PyCharm and click on the terminal

4. Go to the desktop->staffleave->slms directory using cd command as below
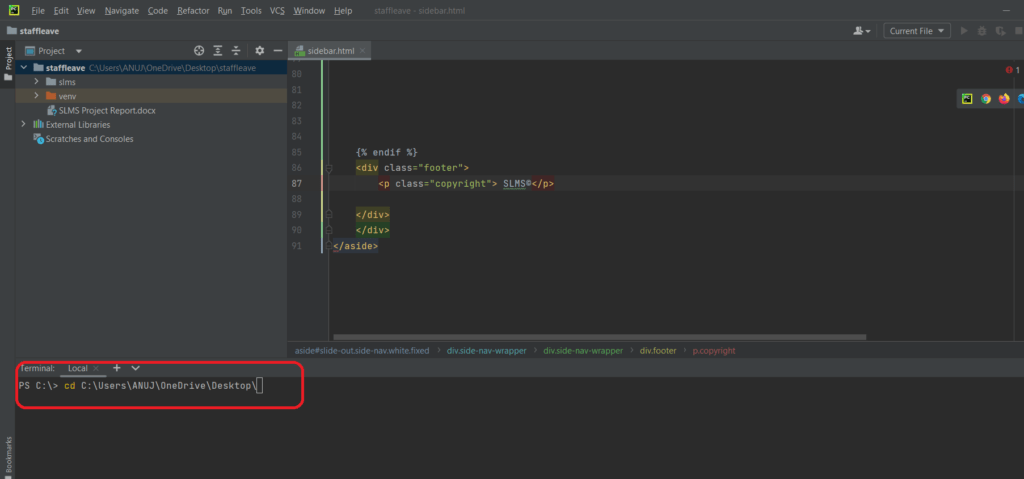
5. Go to the desktop->staffleave->slms directory using cd command and run the server using command
Python manage.py runserver
After running the above command you will get the below screen
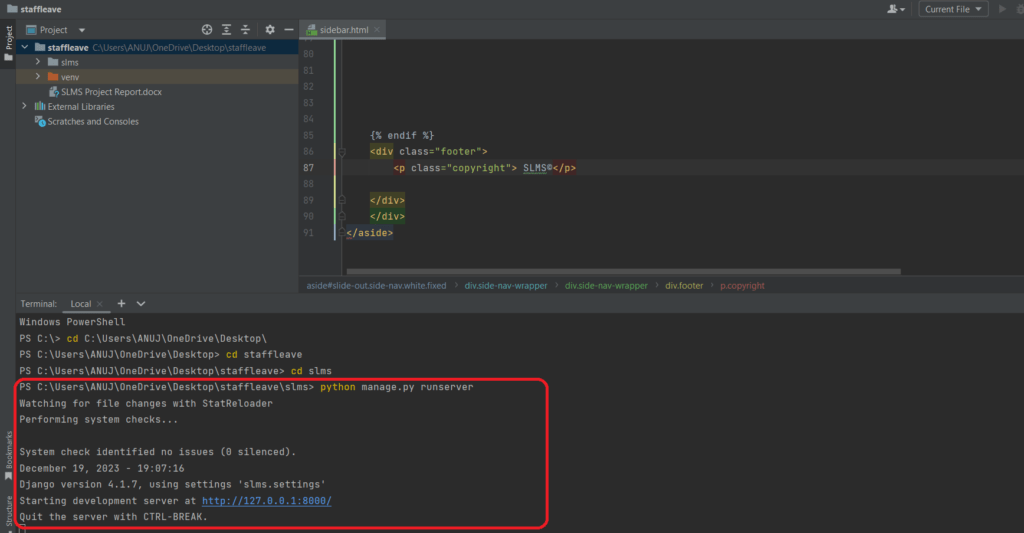
Now click the url http://127.0.0.1:8000 and the Project will Run
Login Credentials
Username: admin@gmail.com
Password: Test@123
Username: amitk12@gmail.com
Password: Test@123
Or Register a new Staff/Emp