Online Diagnostic Lab Management System using PHP and MySQL
Online Diagnostic Lab Management System is web-based technology that brings up various diagnosis work online. Here patients are first allowed to register on the website and also log in using registered details. Once registered with their address and contact details, the patients may now see a variety of tests conducted by the lab along with their costs and also they take appointments of other people who are not registered. The patient will select the required test and book an appointment after that lab center send a lab boy a registered address to collect a sample the cost of the test will be paid to the lab while the samples are taken as cash on delivery (COD). After successful testing, the user now gets a notification of the test result. The system allows the admin to attach a copy of the report to the system and automatically show it on the user side so the user can download the report.
Project Requirements
| Project Name | Online Diagnostic Lab Management System (Using PHP & MYSQLi) |
|---|---|
| Language Used | PHP5.6, PHP7.x |
| Database | MySQL 5.x |
| User Interface Design | HTML, AJAX,JQUERY,JAVASCRIPT |
| Web Browser | Mozilla, Google Chrome, IE8, OPERA |
| Software | XAMPP / Wamp / Mamp/ Lamp (anyone) |
Project Modules
In the Online Diagnostic Lab Management System Project, we use PHP and MySQL database. It has three modules i.e.
- Admin
- Lab Employee
- User
Admin
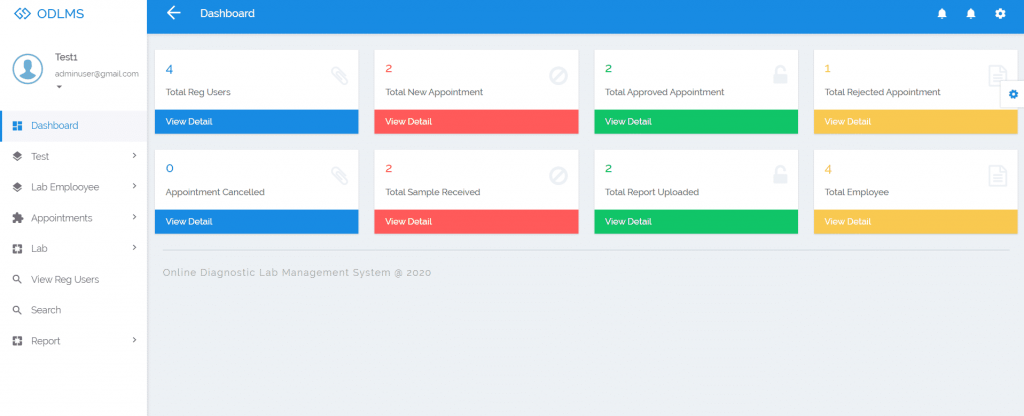
Dashboard: In this section, the admin can briefly view the total registered users, total new appointments, total approved appointments, total rejected appointments by admin, total canceled appointments by user, total sample received, total report uploaded, and total employees.
Test Detail: In this section, admin can manage test detail(Add/Update).
Lab Employee: In this section, admin can manage employee(Add/Update).
Appointments: In this section, admin can view the booking appointment and admin also has the right to change appointment status according to the current status and his/her remarks.
Lab: In this section, admin received the information of the sample collected by an employee and upload the report a test.
View Reg Users: In this section, admin views the detailed registered users.
Search: In this section, admin can search a particular appointment detail by patient appointment number, name and mobile number.
Report: In this section admin can view between dates appointment reports, sales report,s and employee wise report according to dates.
Admin can also update his profile, change the password and recover the password.
Employee
Dashboard: In this section, an employee can briefly view the total new assigned appointment, the total sample collected, the total sample sent to the lab, and total appointments.
Test Detail: In this section, an employee can view test detail.
Assign Appointments: In this section, an employee can view the appointment which is assigned by the admin and the employee has the rights to change the appointment status according to current status.
Search: In this section, the employee can search a particular appointment detail by patient appointment number, name and mobile number.
Reports: In this section, an employee can view how many appointments have been assigned, how many samples have been collected, and how many appointments have been pending on his/her end.
An employee can also update his profile, change the password and recover the password.
Users(Patients)
Dashboard: This is the welcome page for users or patients
Test Detail: In this section, an employee can view test detail.
Appointment: In this section, the user can book the appointments for the test.
Appointment History: In this section, the user can view the appointment history and also can check the status of the appointment.
View Medical Report: In this section, the user can download the patient report.
Users can also update his profile, change their password and recover their passwords.
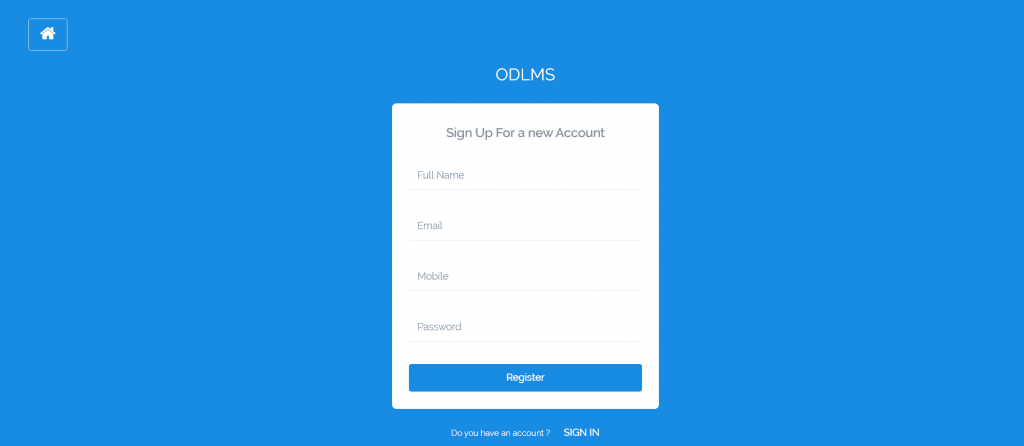
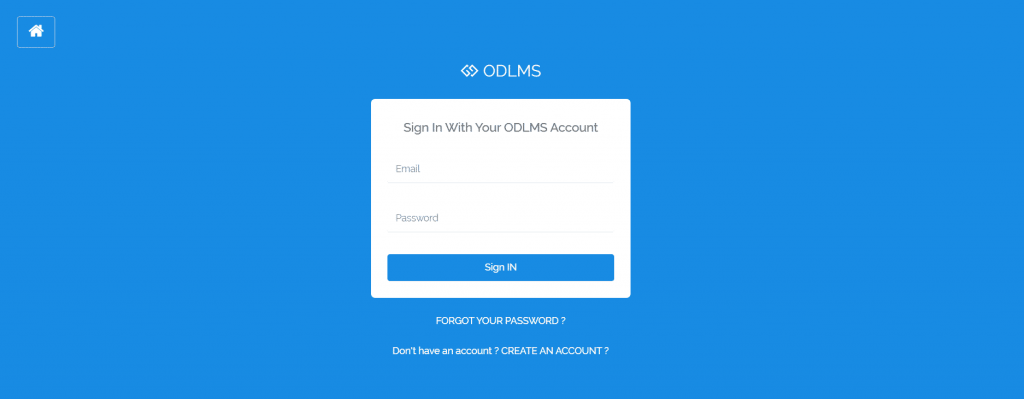
Some Project Screenshots

How to run the Online Diagnostic Lab Management System Project (ODLMS)
1.Download the zip file
2.Extract the file and copy odlms folder
3.Paste inside root directory(for xampp xampp/htdocs, for wamp wamp/www, for lamp var/www/html)
4.Open PHPMyAdmin (http://localhost/phpmyadmin)
5.Create a database with name odlmsdb
6.Import odlmsdb.sql file(given inside the zip package in SQL file folder)
7.Run the script http://localhost/odlms
Admin Credential
Username: admin
Password: Test@123
Employee Credential
Username: lab1124
Password: Test@123
User/ pateint Credential
Username: testuser@gmail.com
Password: Test@123